Tutorials: Aligning and Animating Images, Stacking Images
In this section of the lab, we’re going to apply the skills developed in Part 1 to an astronomical object. The object of interest is the Orion Nebula, which is a star forming region that easily observable in winter and early spring.
We won’t be making a true color image of the comet. Instead, we are going to attempt to replicate a Hubble Space Telescope using narrow band spectral line images.
Exercises
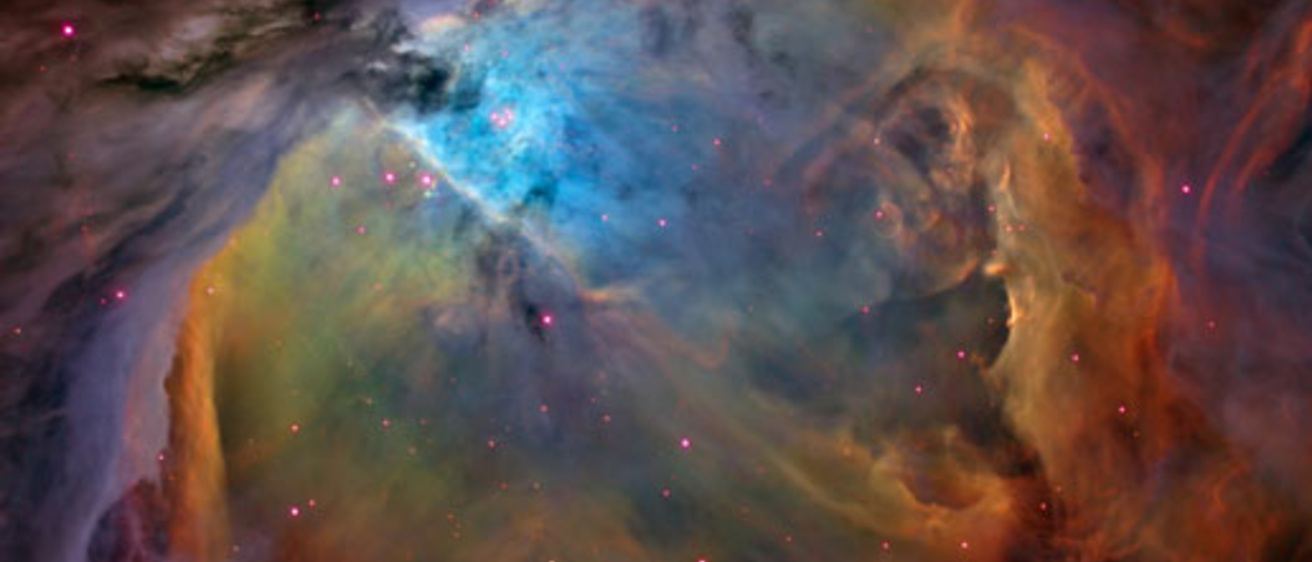
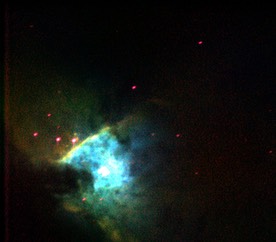
First, load the VAO images of the Orion Nebula into MaxIm DL and open the Hubble image found here.
The images taken with VAO will not show as much detail as Hubble, however we should be able to get the colors approximately correct.
If you inspect the two images, you will notice that the background stars are not at the same pixel coordinates in both images, since the telescope was pointing at a slightly different point in the sky. You will have to align the images to account for the different pointings of the telescope. The Guidepost below will explain how to do this in MaxIm DL.
- Explain why it is important to align the images.
- What are spectral lines? What can you learn about an object if you observe spectral lines using your telescope?
You need to do a quick search on the internet to answer this question. Wikipedia will be particularly helpful.
- Both VAO and the Hubble Space Telescope have filters ot observe the Hydrogen-alpha, Oxygen III, and Sulphur II spectral lines. What color light is transmitted by each of these filters? Why would you want to observe with these filters.
A very useful reference on these three filters can be found at the Starizona website.

- Open the images of the Orion Nebula. Using the same procedures used to image the Danforth Chapel in Part 1, try to recreate the colors seen in the NASA Hubble Space Telescope Image above. Remember to record which filters are which color and the mixing ratios used!
A tip that will help you in determining the correct mixing ratio, the Sulphur filter collects much less light than the Hydrogen or Oxygen filters. The hydrogen image will be the brightest.
- Describe features of the Orion Nebula seen in your image. What can we learn about the Orion Nebula using these images?
Guideposts

Aligning Images
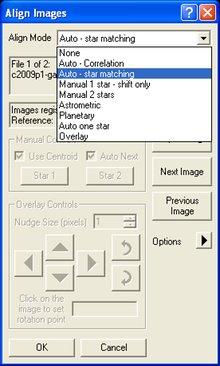
Maxim has a tool that can align images that are slightly offset from one another. Select Process -> Align from the menu. Select the names of the images you want to align and click on the right arrow to add them to the list, then click OK. The Align Images window will appear. Here, you have several Alignment Modes from which you can choose. For these particular images, 'Auto-star matching' works well. You can preview how well your Alignment Mode is working by selecting 'Overlay All Images' before you proceed. Once you've selected your Alignment Mode, click OK. Notice the background stars of both images are now mapped to identical (x,y) pixel coordinates.
Animating/Stacking Images
Once you have aligned images, you can animate them to see the motion of an object. This is useful when you are looking for a moving object that is hard to distinguish from background stars in a single image. You can also stack images, which is helpful if you are trying to measure how much an object moved between successive images. To perform these functions, select View -> Animate or Process -> Stack from the menu.