Breadcrumb
- Home
- Labs
- Foundational Labs
- Exploring the Sky I
- Using Stellarium Web
Using Stellarium Web
Resources: Stellarium Web
How to Use Stellarium Web
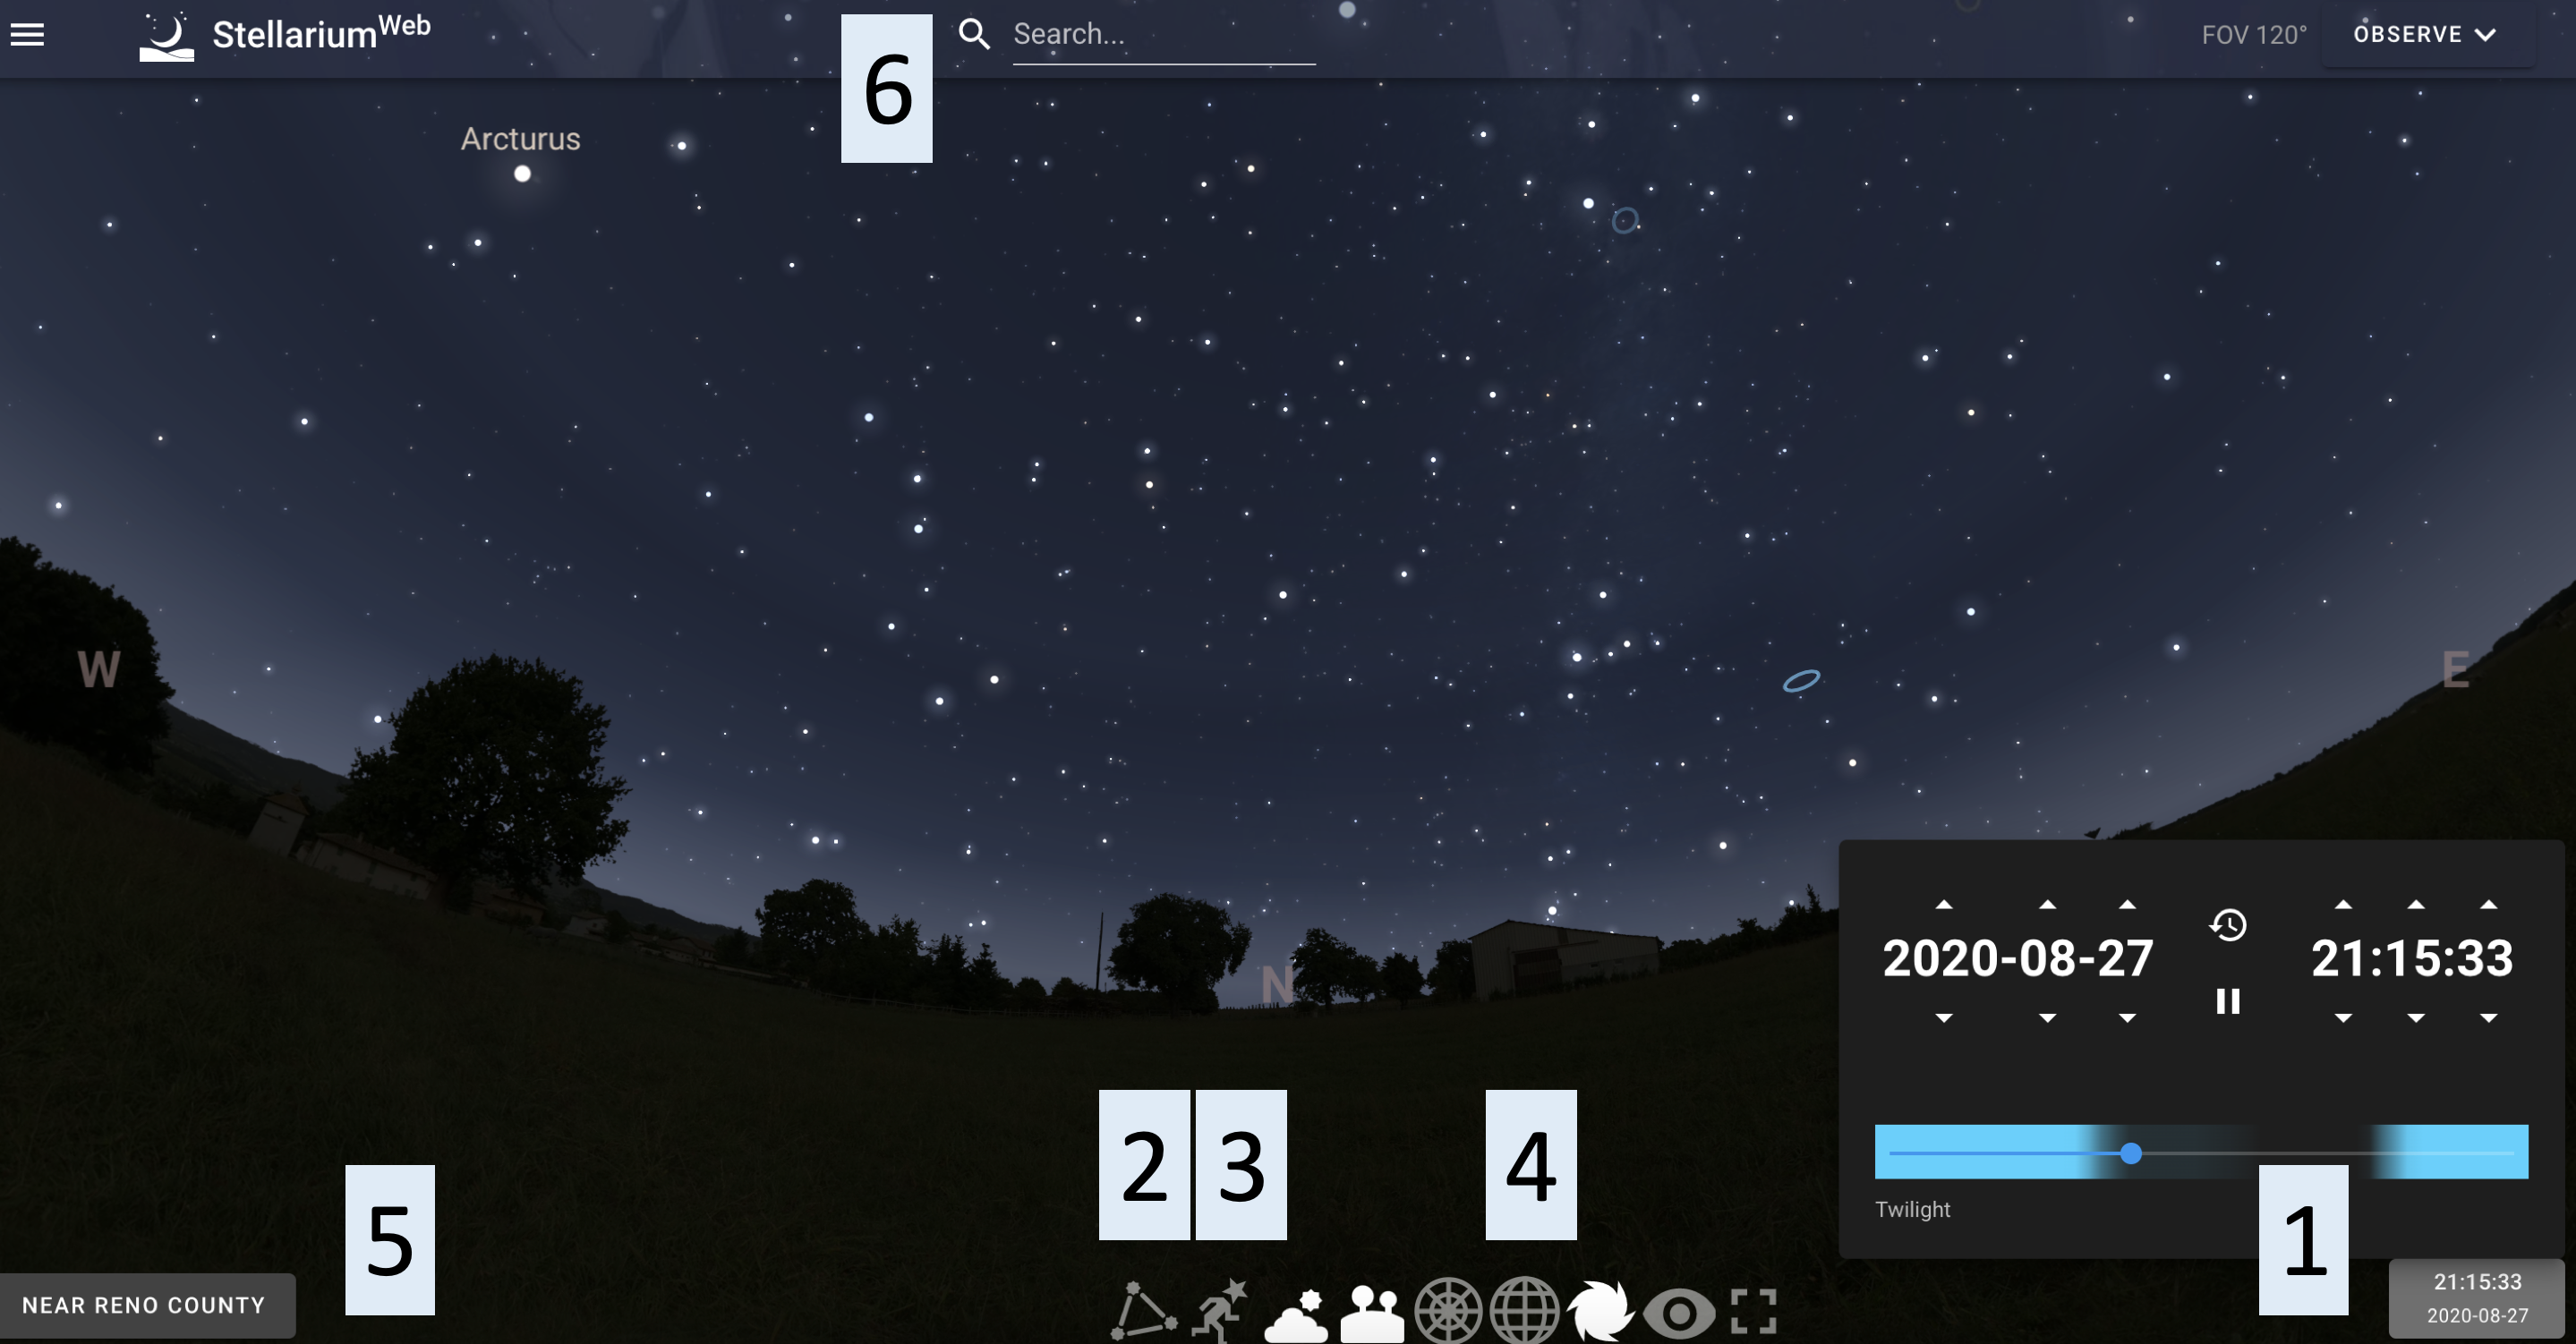
When first navigating to the webpage, your browser display will be filled with an interactive night sky map like that below. Play around first and see what features you can discover for yourself. Click the icon on the far left of the three horizonal lines to collapse the left sidebar and expand your view. Looking around in the sky is accomplished by click anywhere on the panorama and dragging the mouse right, left, up, or down to move around your view. If you have a mouse with a scroll wheel, the view can be zoomed in or out using the scroll wheel on the mouse. If you have a touch pad, place two fingers on the pad and scroll up or down to zoom in and out. In the image below, 6 additional features of Stellarium are identified. Read below for the use of each option.


- The "Date/time window" is brought up by clicking the digital clock in the bottom right hand corner of your screen. On the top left of the window that pops up you can click the up and down arrows to change the year, month, and date, and on the top right of the window you can click the up and down arrows to change the hour, minute, and second. In the center of the window you can press the pause icon to stop time from progressing (by default Stellarium will progress the displayed sky one second every second), or press the icon with the clock with the arrow around it to return to the actual current day and time.
- Click the Constellations icon to display constellation lines and names.
- Click the Constellations Art icon to display images of the objects the different constellations represent.
- Click the Equatorial Grid icon to display the lines of Right Ascension and Declination on the sky.
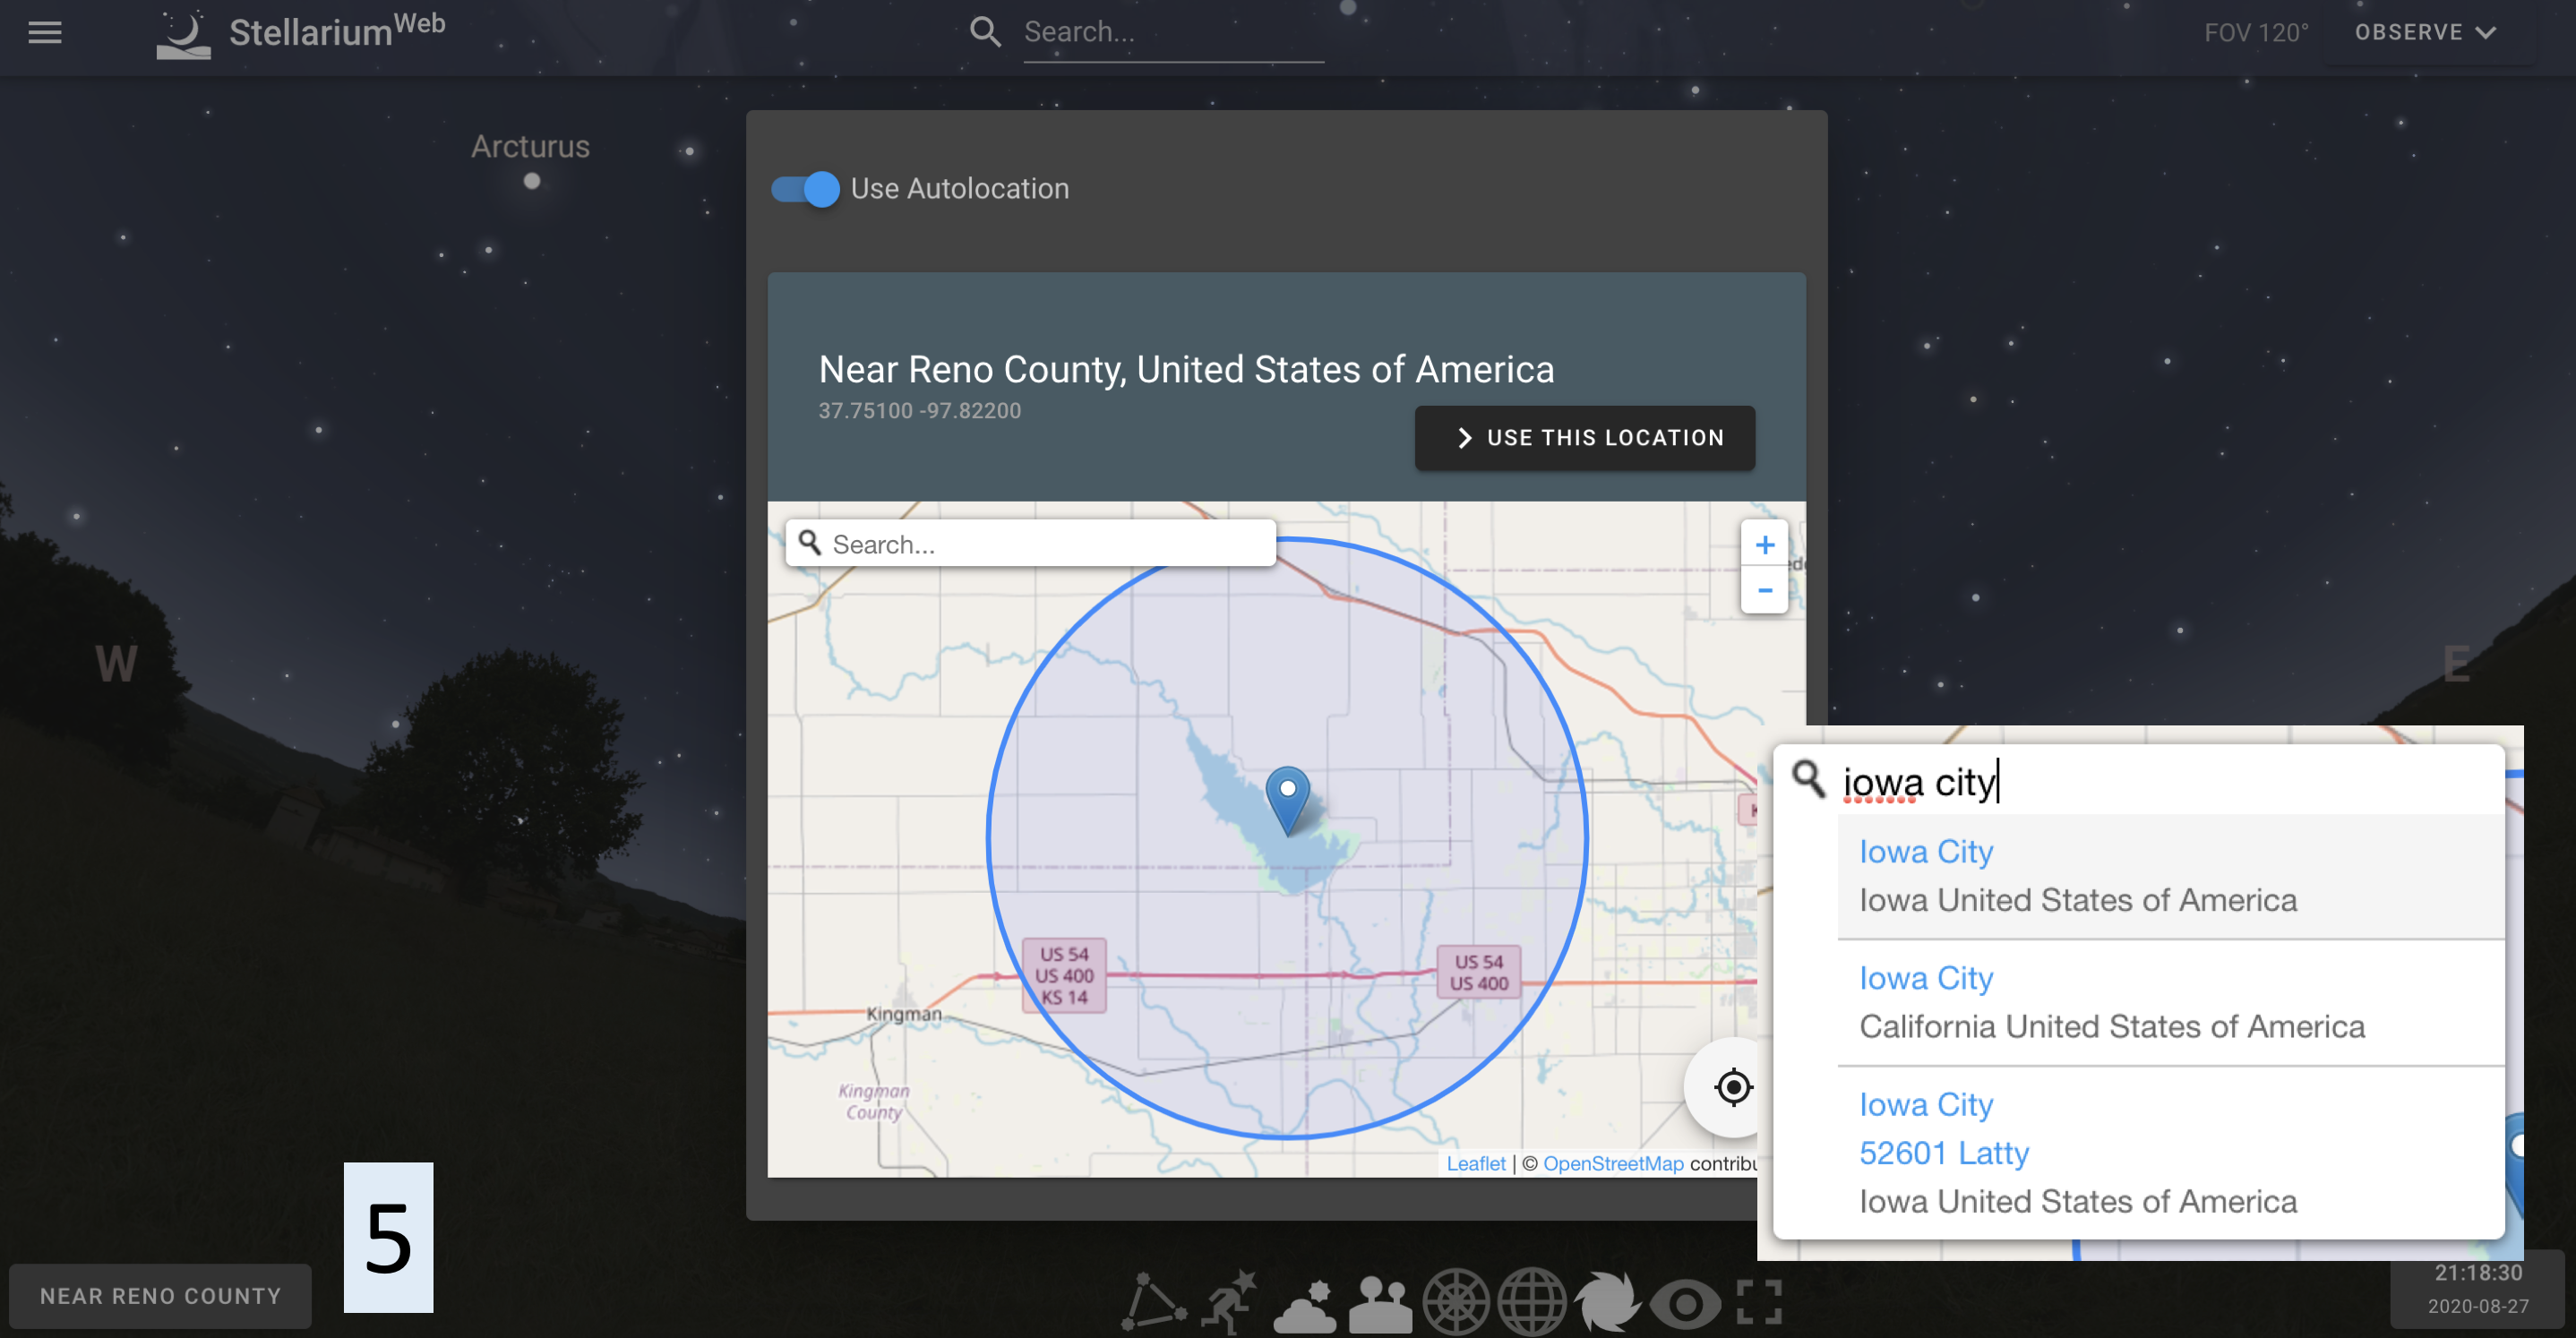
- Change your location by clicking on the "Location window" in the bottom left hand corner of your screen. This will bring up a big box in the screen center as seen above. Click on the search magnifying glass in the upper left of the map and type the location you are interested in. Press enter on your keyboard to search. Click on the correct location selection (or arrow down to your location selection and press enter once your target location is highlighted; see inset image). Finally click on ‘> USE THIS LOCATION’ up above the map to the right.
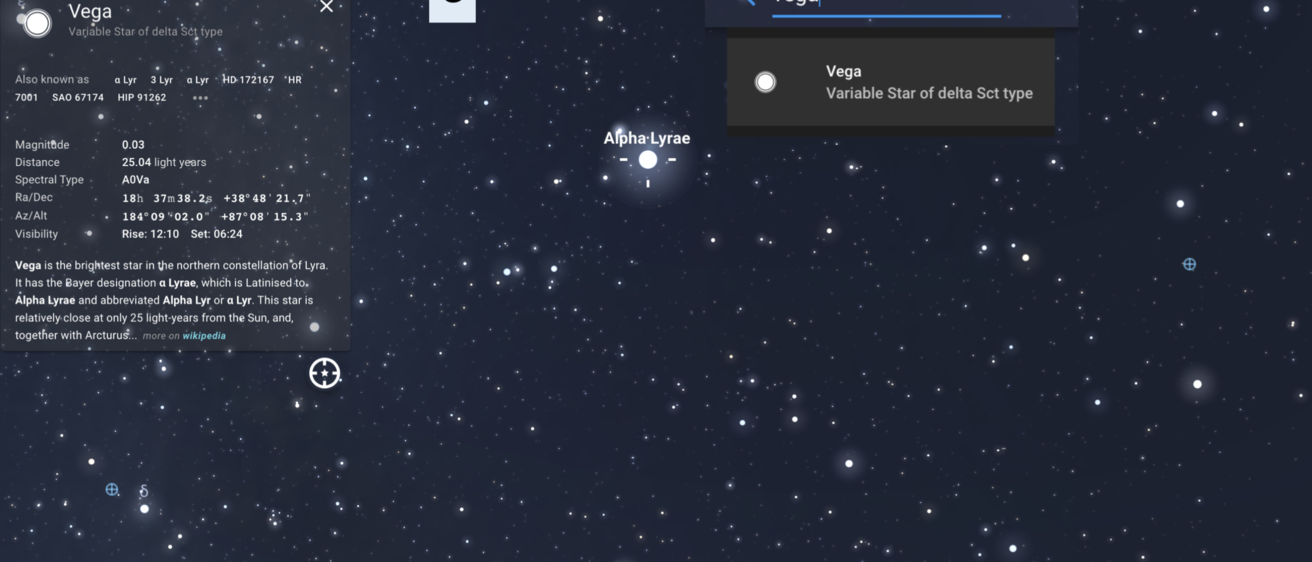
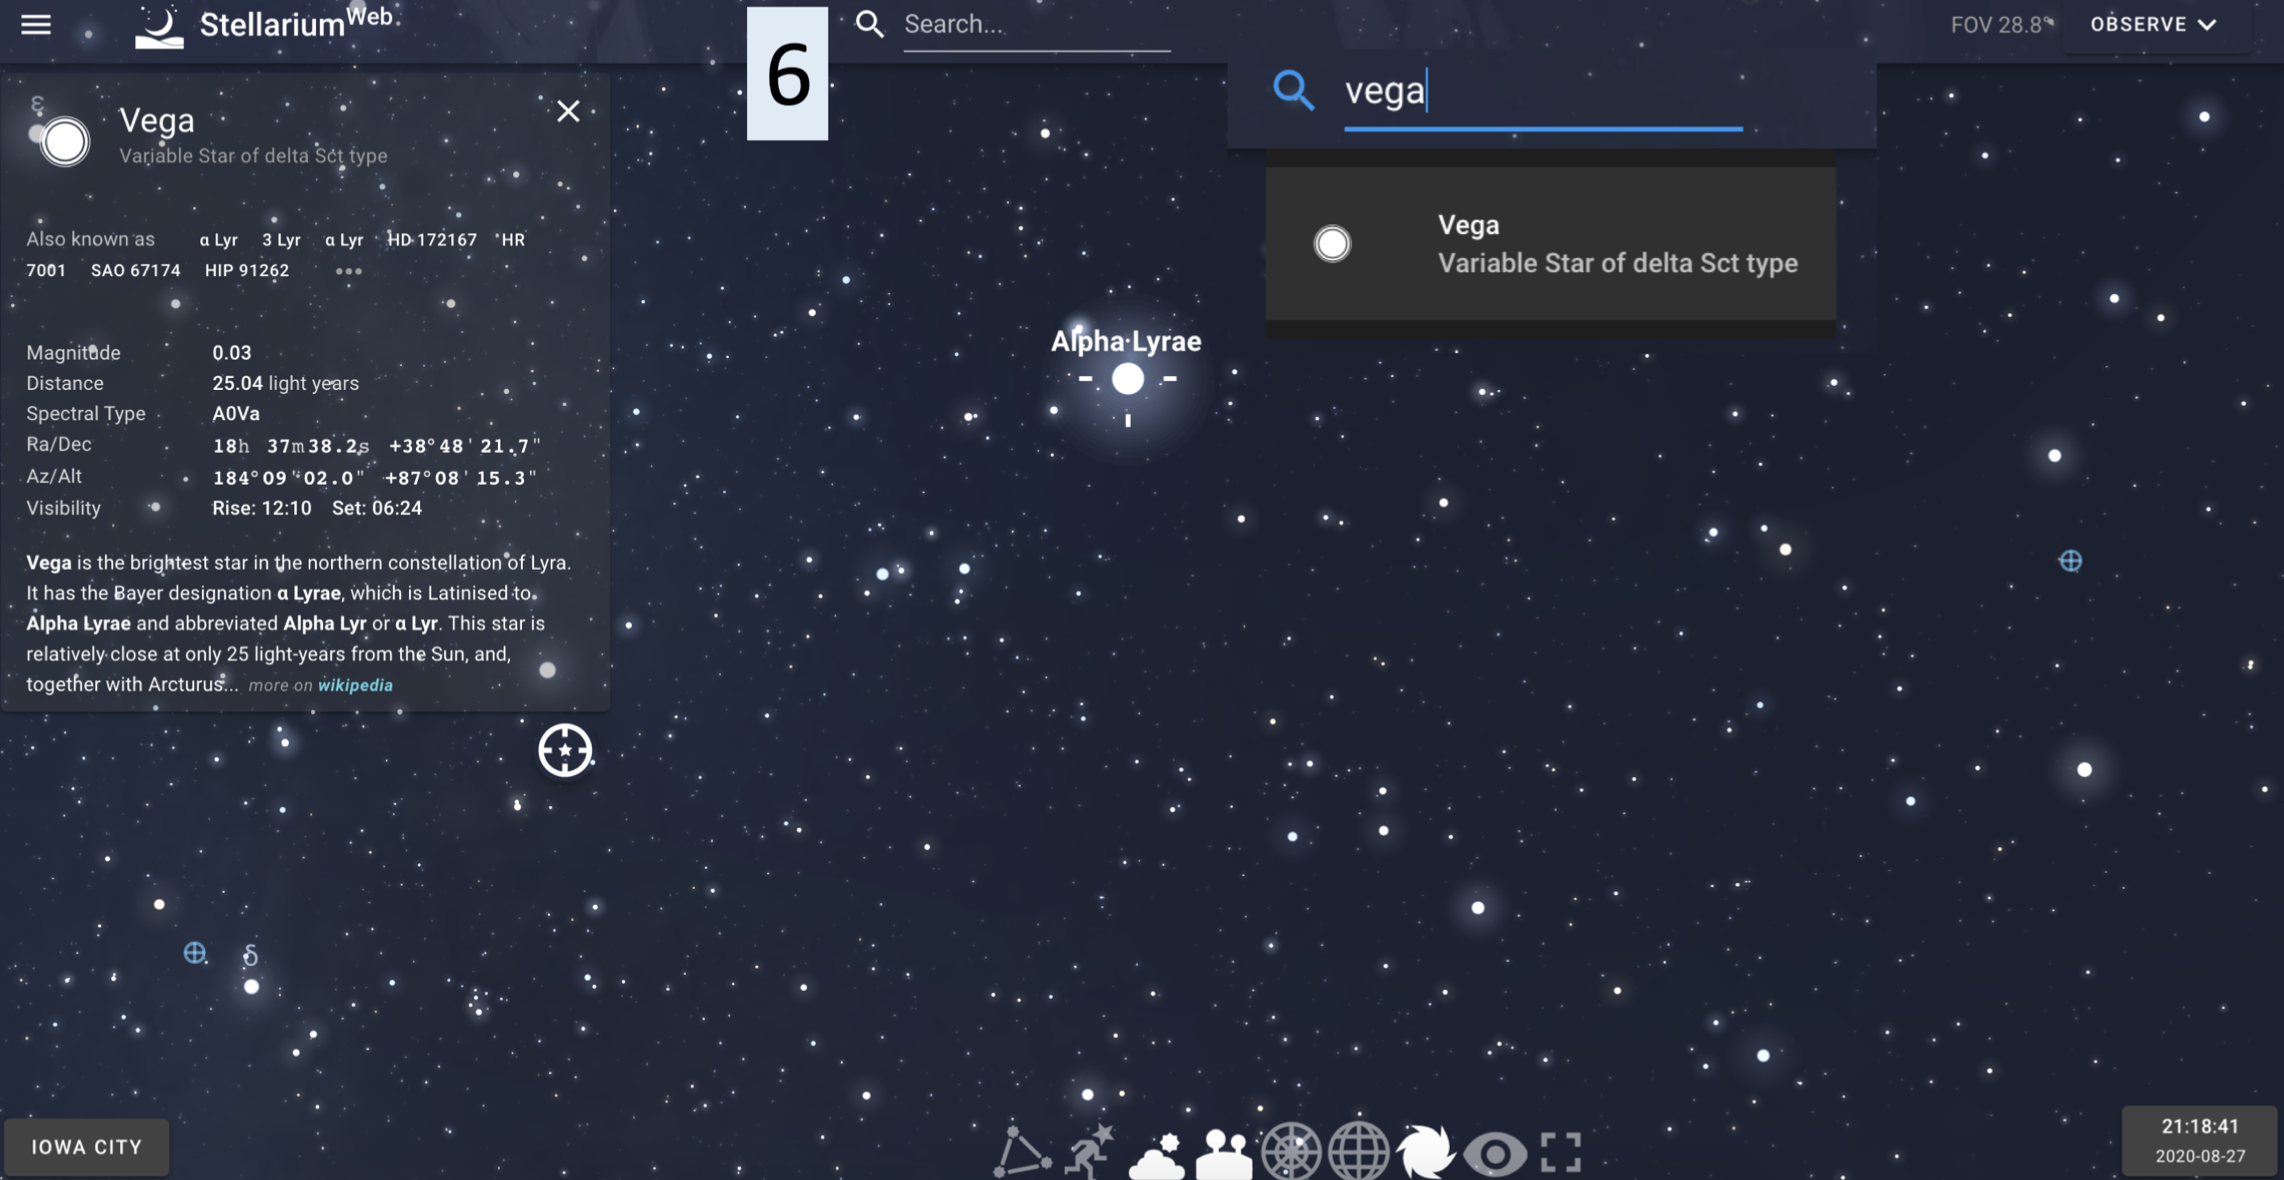
- To search for an astronomical object, in the top center "Search window" click on the search magnifying glass. When options pop up (see inset image), you can click on the selection you want. This will automatically redirect your screen to the target, centering the object and pulling up an information window as seen at the left in the image above. This window includes key information about your astronomical object such as its Magnitude, Distance, and Right Ascension and Declination (RA/Dec). You can also pull up this information window for an object by clicking on it directly in the display of the sky rather than searching for it by name. But note how at the bottom right of the information window seen at above left for Vega, there is an icon of a star surrounded by a crosshair at the bottom left. By clicking this icon you can center the target. If you search for an object through the search bar, the object is automatically centered, but if you just click on a target in the sky, it is not automatically centered. Making sure a target is centered is key for making sure that target stays centered when you progress time in the date and time selection box.