Breadcrumb
- Home
- Labs
- Foundational Labs
- Image Analysis I - Image Processing and the Ring Nebula
- Part 1: Measuring the Height of the Danforth Chapel
Part 1: Measuring the Height of the Danforth Chapel
Terminology: Angular Resolution, Contrast, Histogram, Small Angle Formula
Tutorials: Importing Images into MaxIm and Adjusting the Histogram, Finding Coordinates in MaxIm and Measuring Distance, Producing Color Images
Adjusting Image Contrast and Brightness

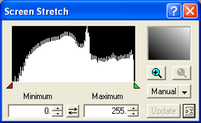
It is sometimes convenient to adjust the image display gray levels in order to enhance faint features in the image. This is known as adjusting the contrast, or the histogram. To do this, use the Screen Stretch window. If this window is not visible when Maxim starts, you can open it by selecting View -> Screen Stretch Tool from the menu, or by clicking (ctrl+h).
The Screen Stretch window shows a histogram of the intensity levels in the image. The height of the histogram shows the number of pixels with a given intensity. The Minimum and Maximum boxes control the range of brightnesses which are actually displayed; the levels in the image are scaled as you change the range. The range can also be set with the red and green arrows.
Making a Color Image

Color images can provide information that a grayscale image cannot convey. The sensor in a telescope does not take color pictures because this would sacrifice too much light sensitivity. However, color images can be constructed by taking images with different colored filters in front of the camera sensor. These images can then be combined to produce a color image.
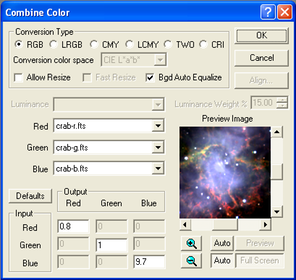
To make an RGB color image from grayscale images in MaxIm, you must first have at least three images of the same object taken with red, blue and green filters. Choose Color -> Combine Color from the menu. A dialog box appears which allows you to select the grayscale images to reproduce the red, green and blue colors in the final image, and how bright to make each color. You will have to adjust these numbers to get a good mix of colors in your final image. To preview the image before you hit “Ok” to have a final version, click the “Auto” buttons on the lower right part of the Combine Color screen and a preview should pop up.
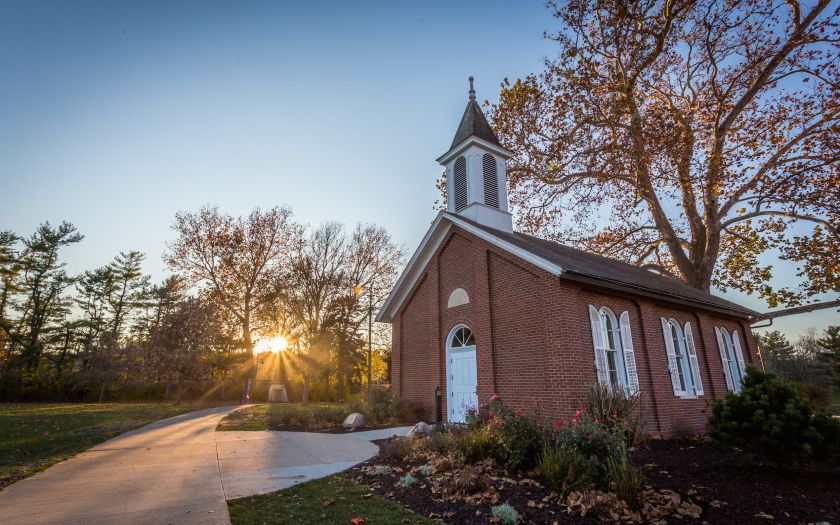
Note: Maxim attempts to adjust the brightness and contrast of your new color image for you, but it does not do a very good job with Earth-based images such as that of the Danforth Chapel, which you will now work to combine. For the chapel, try manually setting the Minimum and Maximum intensity values in the Screen Stretch window to 0 and 255, respectively. This should produce a clearer color image which you can further adjust.
The Height of the Chapel

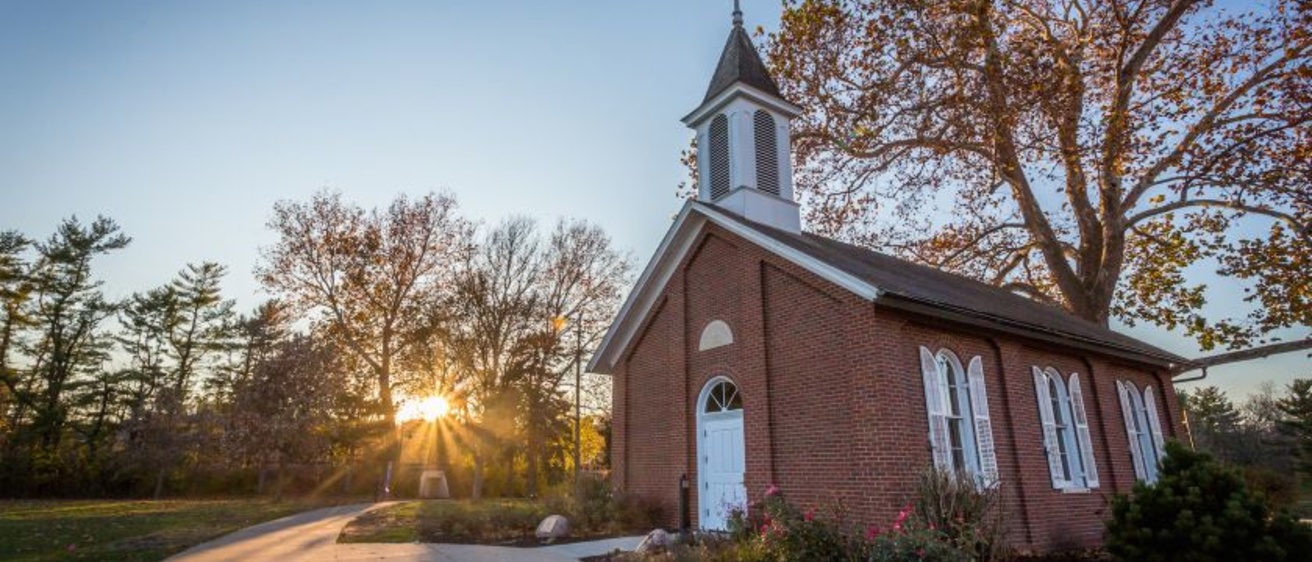
In Astronomy, the only way we can make measurements of distance or size is to take images of objects. Before we move on to astronomical images, here we’re going to develop the techniques using a more local target. In the following part of the lab, you will determine from an image the height of the Danforth Chapel, which is the building on the lawn of the IMU. Please note, you will be measuring the height from the ground to the top of the spire.
First, you need to load the images of the Danforth Chapel into MaxIm DL. You can download the images, which are .FTS files from the website: chapel_r.fts, chapel_g.fts, and chapel_b.fts. Or, the files can be retrieved from the shared drives on the desktop of the lab room computer. It is important to keep the naming scheme intact because it identifies the filter used to make the image. For example, chapel_r.fts is the image taken with the Red filter. If you keep the naming scheme as listed on the website, then MaxIm DL will automatically assign the right image to the correct box when you go to combine them.
In MaxIm DL, open the images. Notice that when you move the cursor over the image, the x and y coordinates (x,y) and the intensity level at that pixel (i:) are given in the status bar at the lower right corner of the screen. You want to adjust the contrast and brightness on each image. Follow the guidepost above below to do so. Next, you will want to combine the colors to make a tri-color, or false color, image. Follow the guidepost above to do so.